To start processing orders on your pos, you need to configure Orders, Kitchen Display System, and Kitchen Printers.
Follow the instructions below to process orders :
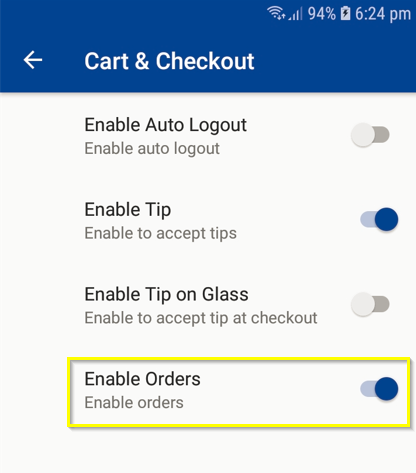
Step 1: Configure Orders
From the Home screen, scroll from the left side or press on the RC Settings in the upper left, under the System section → Click on Configurations→ Cart & Checkout→ Enable Orders.
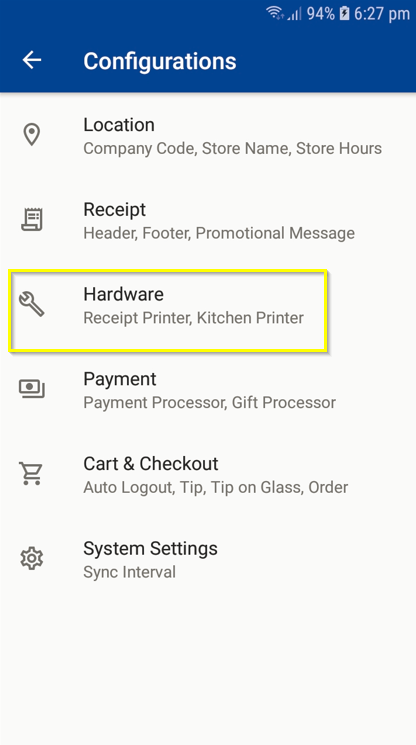
Step 2: Configure Kitchen Printers on POS
-
From the Home screen, scroll from the left side or press on the RC Settings in the upper left, under System section → Click on Configurations→ Hardware → Kitchen Printer.
- Click on the ‘+ symbol at the bottom of the screen and select the interface option (LAN, Bluetooth, USB, All, Manual).
- For manually adding printers, select ‘Manual’ from the interface and enter the port name.

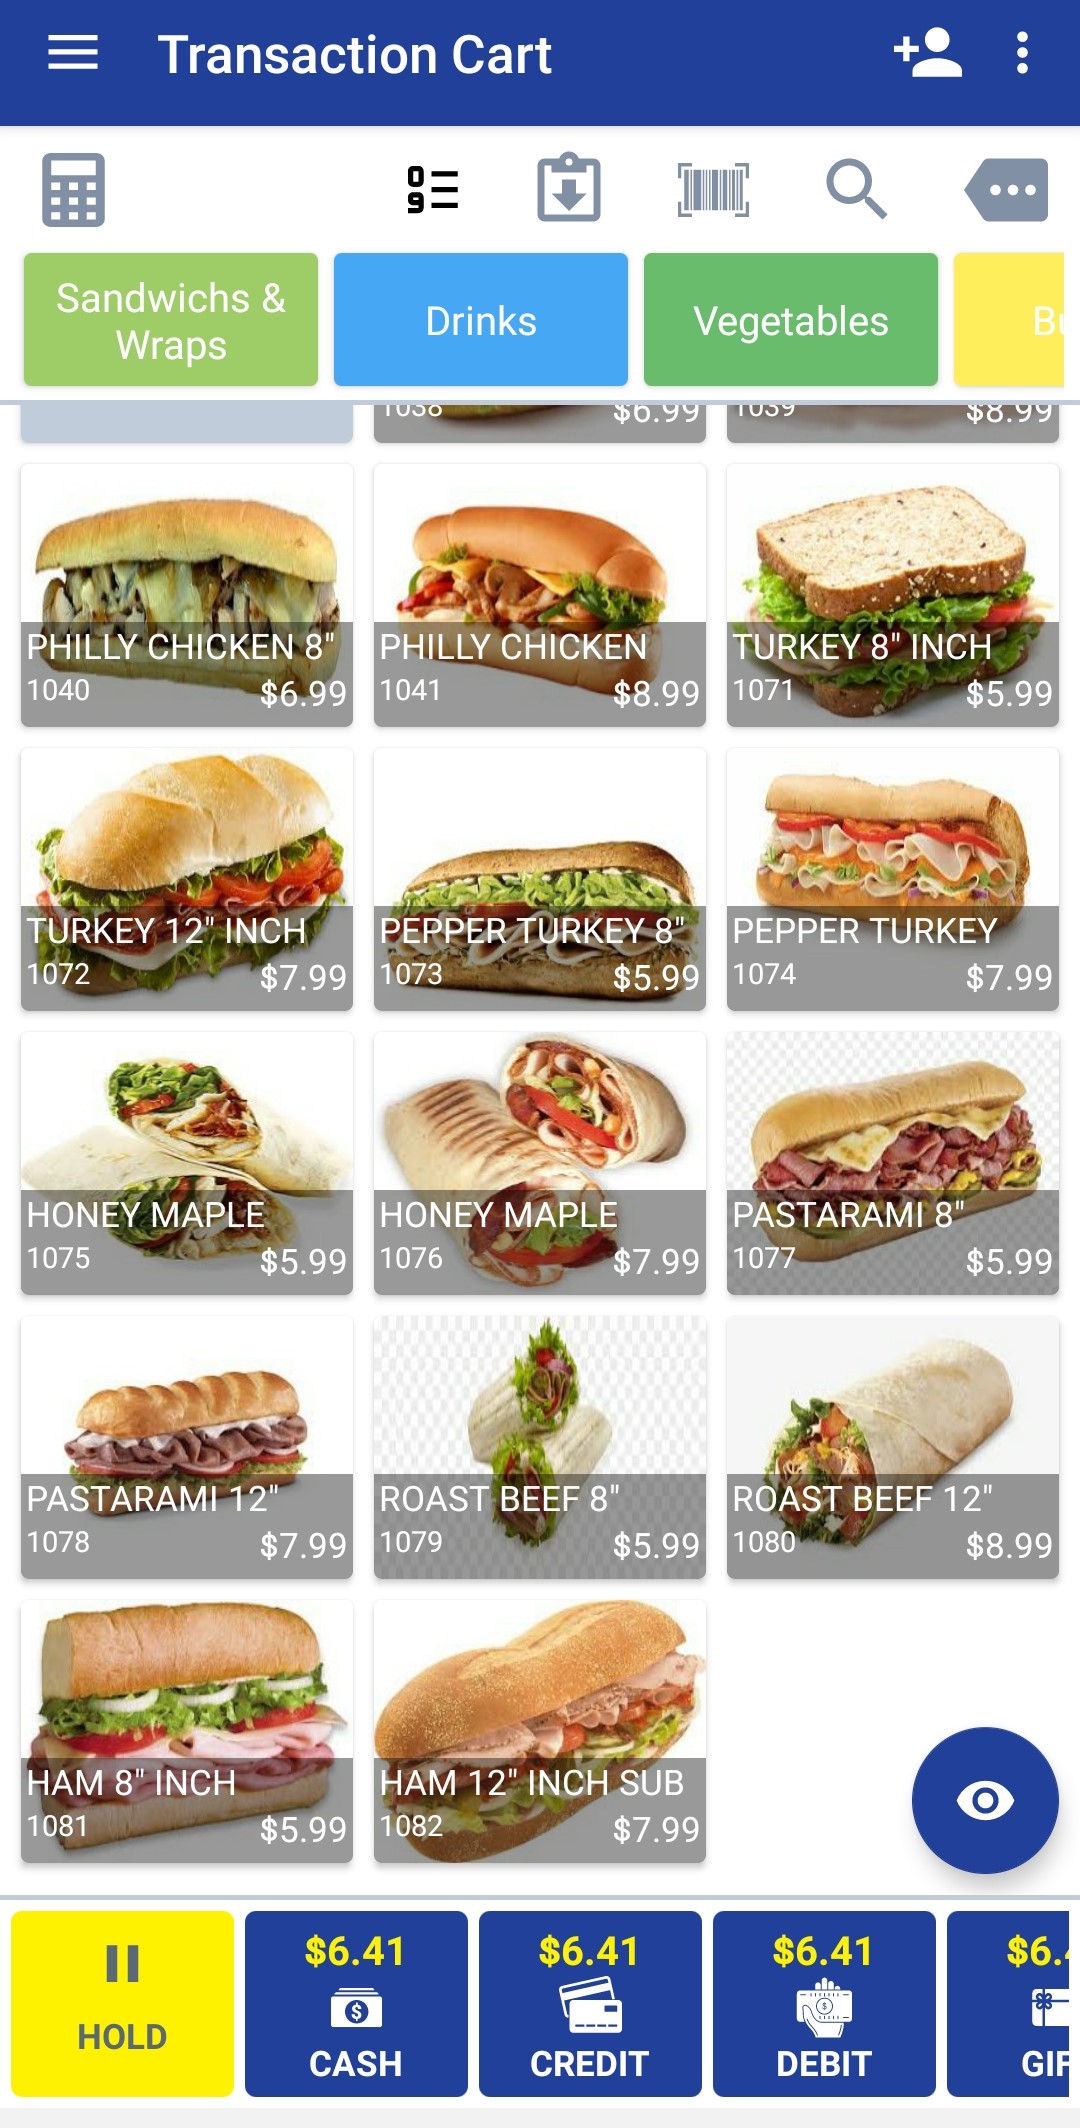
Step 3: Processing Orders
- The ‘Hold’ ’button will get displayed at the bottom of the transaction screen.(Now you can start taking orders.)
- Add items to the transaction cart. When items with modifiers are added, it will lead to a modifier option selection screen.
- Choose the modifier options needed and click on ‘Add to Cart.
- Click on the ‘HOLD’ button to initiate the order and this will automatically send order details to the KDS screen.
Click here to know how to setup modifiers
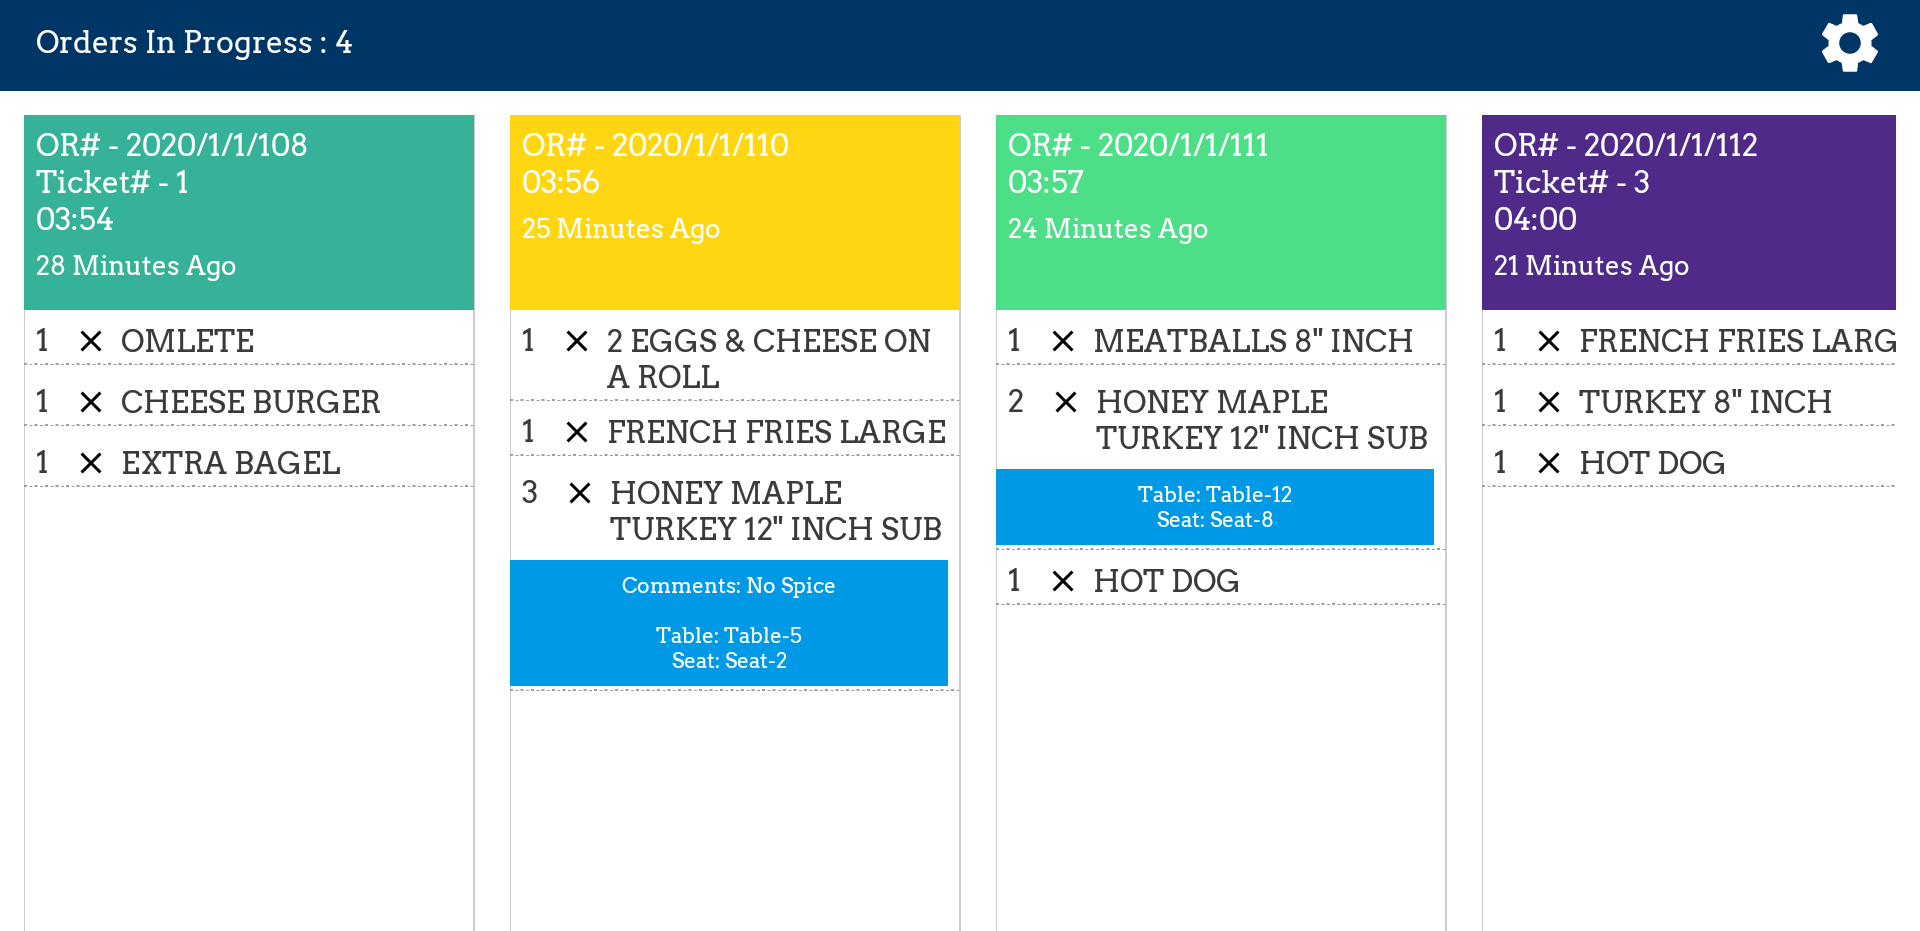
Step 4: How does KDS work?
KDS Rings Up when an order arrives. Once an item rings through the POS, it displays on the KDS. Since the food order is placed at the point of sale, it has to be able to talk to the kitchen display system for food to route and show up in the back of the house.
If the order is placed, the kitchen staff can CLOSE the order from the KDS.
KDS will print the order receipt when a new order is placed on the QSR.
The 2 printing options are :
Print receipt when order is received: Print receipts when an order is received. Default is Enable
Print receipt when order is closed: Print receipts when an order is closed. Default is Enable
Step 5: View Orders
Track orders as they’re prepared in the kitchen and print receipts right from the pos terminal.
From the Home screen, scroll from the left side in or press on the RC Settings in the upper left → Click on ‘Open Orders’.
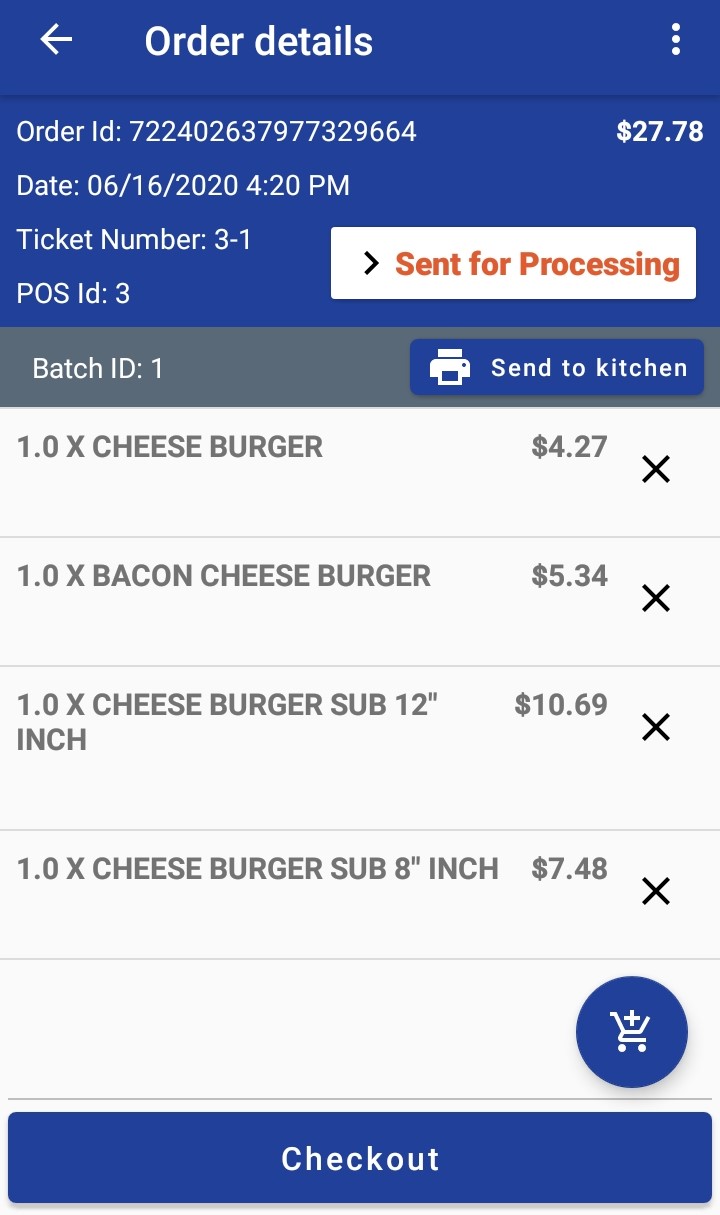
- Created orders will be listed in this page, select the order to view the order details and order status.
- Order Details include; Order ID, Date, Time, POS Id, Items details, and Price.
- To change the status of the order, click on ‘Initiated’ button which will display the available statuses. They are :
- Initiated
- Processing
- Ready
- Delivered
Select from the options to change the status.
Send to Kitchen: Click on the 'Send to Kitchen' button to send the order by batch to the kitchen printer and KDS.
Ticket Numbers are automatically assigned to orders when placed.
Step 6: Incrementing Orders
From the Home screen, scroll from the left side or press on the RC Settings in the upper left → Click on ‘Open Orders’.
- Select the order to view the order details and order status.
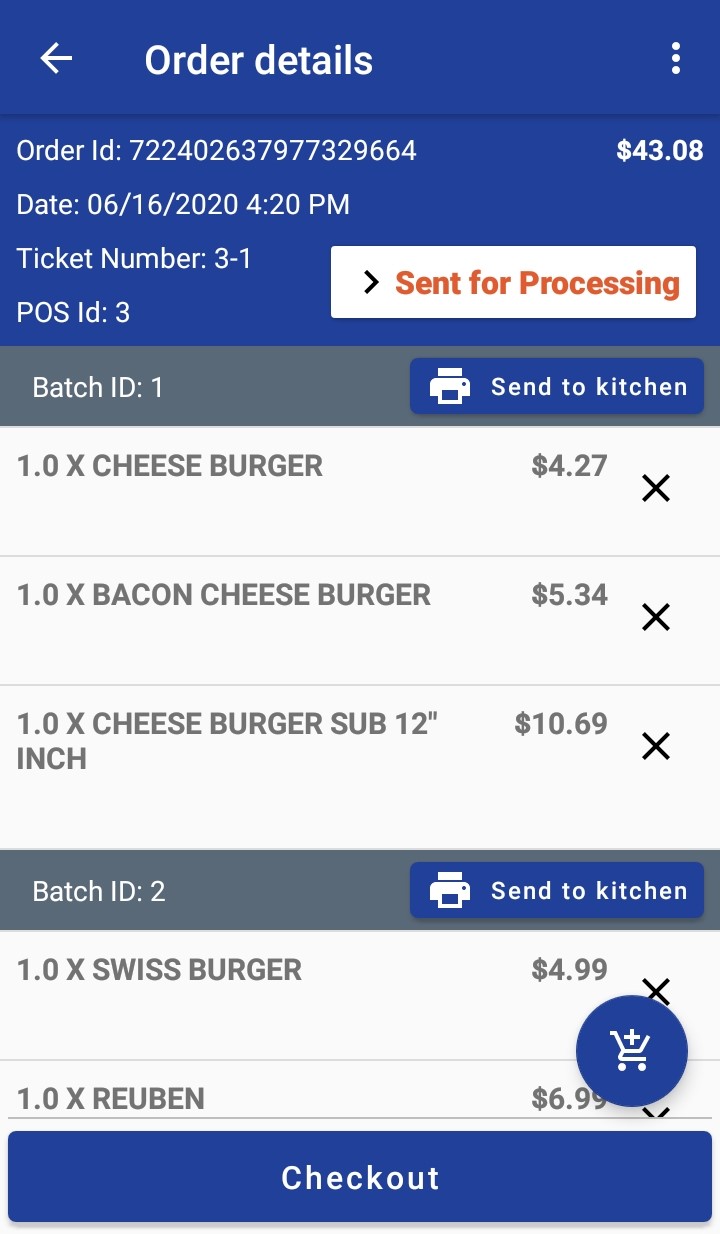
- Click on the ‘+ cart’ icon at the bottom of the screen and select the items.
- Click on the ‘Add To The Order’ button at the bottom of the screen to add more items as a new batch to the order.
- Batches of the orders can be Send to Kitchen partially or as a whole.
- Reprint Receipt: You have the option to reprint the specific portion or full order to kitchen. To reprint, click on the 3 dots at the top right corner and click 'Reprint Receipt'.
- Once the order is delivered, click on the ‘Checkout’ button, select the tender type and proceed to checkout.
Articles in this section
- Zebra RFID Checkout Support in 6IXPOS
- JPMorgan Chase Payment Processor in 6ixPOS
- Tender Rounding in POS
- Phone Order Checkout in 6ixPOS
- FreedomPay in 6ixPOS
- ValorPay Integration on 6ixPOS
- CRM Capture in 6ixPOS
- Suspend & Resume Transaction
- Serialization in 6ixPOS
- Stripe Terminal Integration on 6ixPOS
Comments
Please sign in to leave a comment.