Setup mC-Print3 (Star Remote Kitchen Receipt Printer)
This article has instructions for configuring the mC-Print3 Star Kitchen Receipt Printer. It needs to be connected to your network, you need the IP address of the printer when connected to your network, CloudPrint needs to be enabled on the device with a URL, and the MAC Address of the printer needs to be inserted into the console.
- Connect power and connect the printer to your network. Turn off the printer if you turned it on.
- Insert the paper into the printer.
- Press and hold the feed button on the printer and press the power button to turn on the printer. Release the power button, but keep holding the feed button until a status page prints out. The green Network Light will stop blinking when done. Keep this page.
- On it are the IP address and the MAC address.
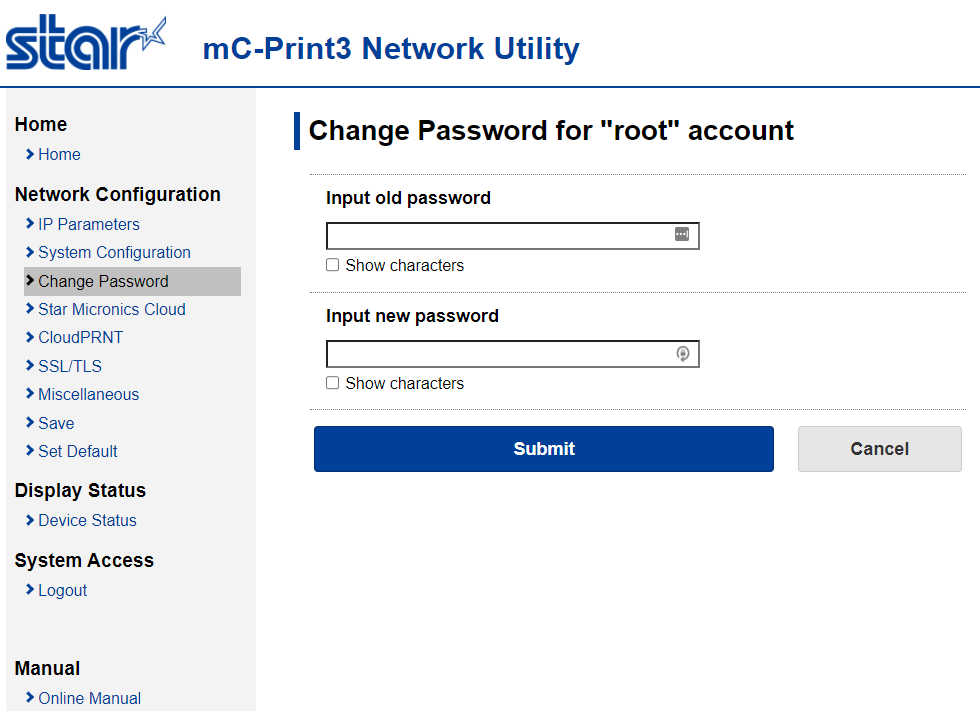
- Enter the IP address into a browser and login to the printer UI.
- Username and password are root/public
- Put in the old password and a new password
- Click Submit - Save - Save/Restart
- Wait for it to restart
- Login to the UI again
- Go to CloudPRNT
- Enter the URL for orders at retailcloud
- Click Submit - Save - Save/Restart
- Take the MAC address on the top of the status page and put it into the console portal Add Printer status page. The MAC address should be a mix of case sensitive numbers and letters separated by colons EX. 0a:1b:2c:3d:4e:5f


Articles in this section
- How to Avoid Void Transactions After Batch Close?
- How to Generate On Hand Report?
- How to Generate Sales Roll Up Report?
- How to Generate Sales Forecast Report?
- How to Create KDS Register?
- How to Enable/Disable eCommerce for online products?
- How to List & Export Ecommerce enabled Items from your Product Catalog?
- Offline Mode
- How to Set up Payment Processor?
- How To Manual Entry CC details?
Comments
Please sign in to leave a comment.