To start a receiving process follow the below steps
- Click the 'Receive’ button from the home screen.
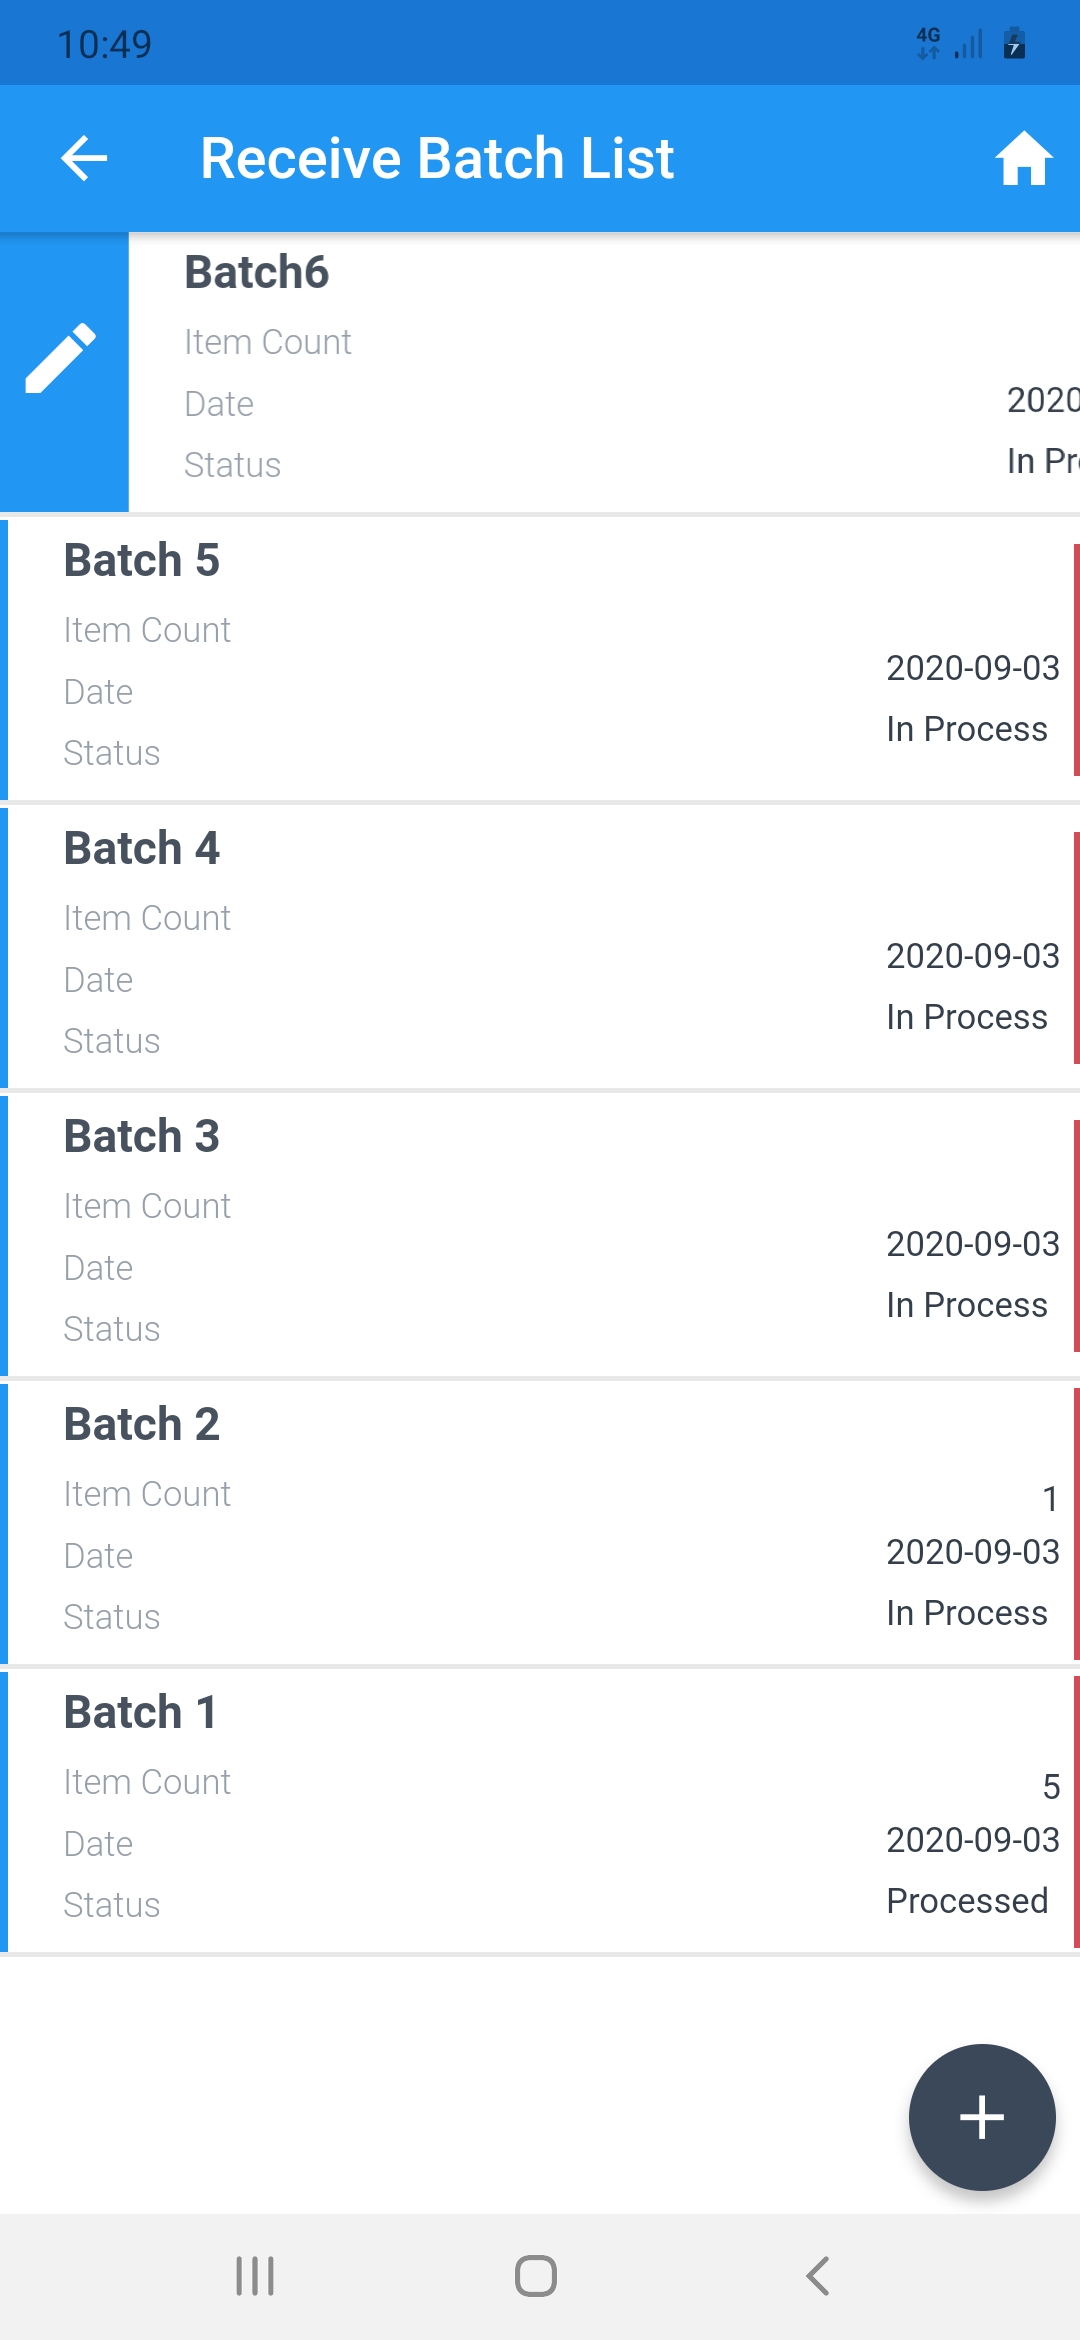
- To add a new batch click the ( + ) symbol on the "Receiving Batch List" Screen
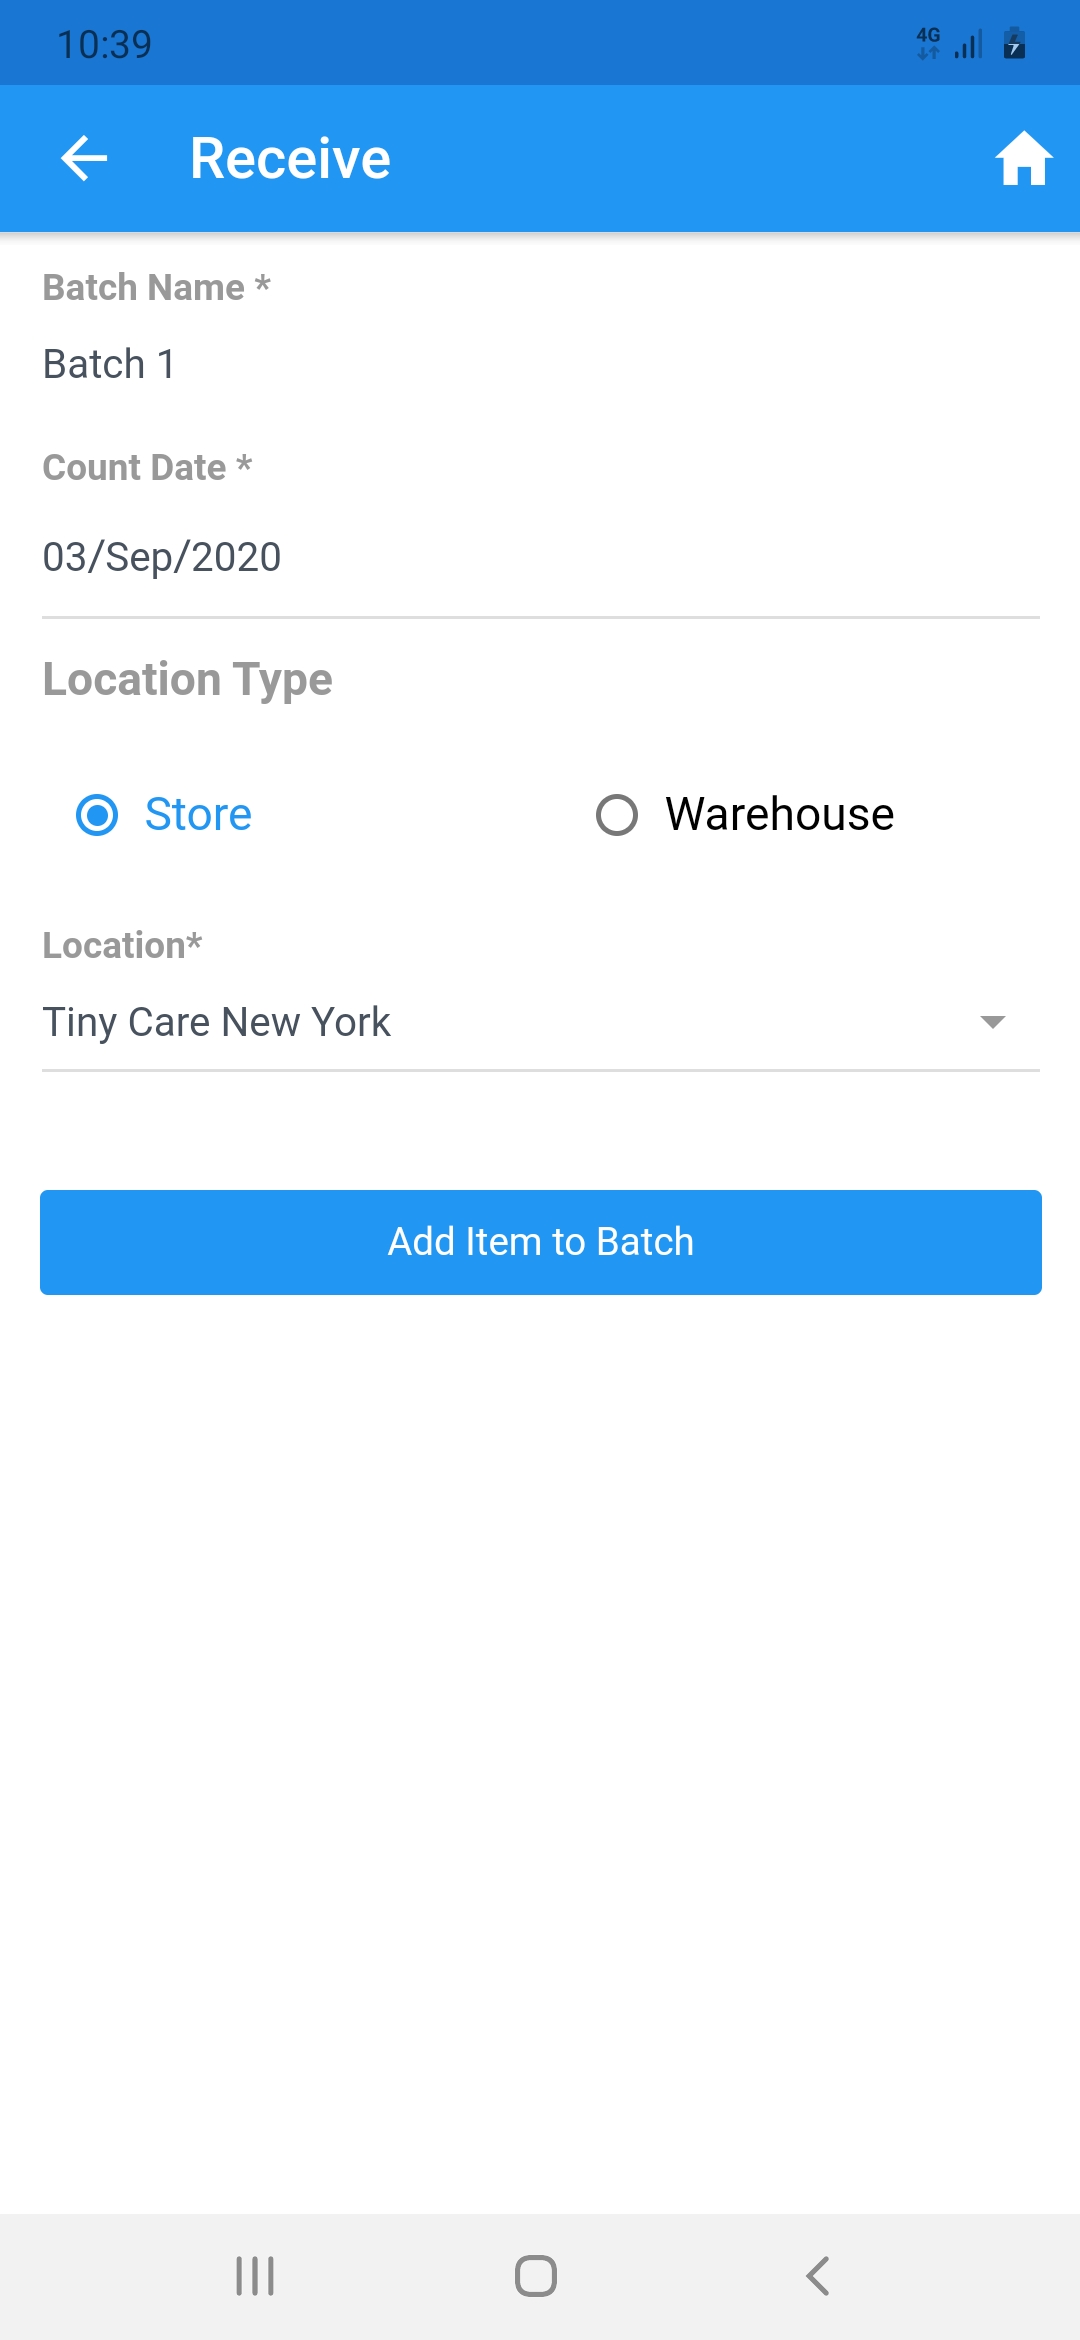
- Enter
- Batch name
- Count Date
- Location type
- Location
- Click 'Add item to batch '
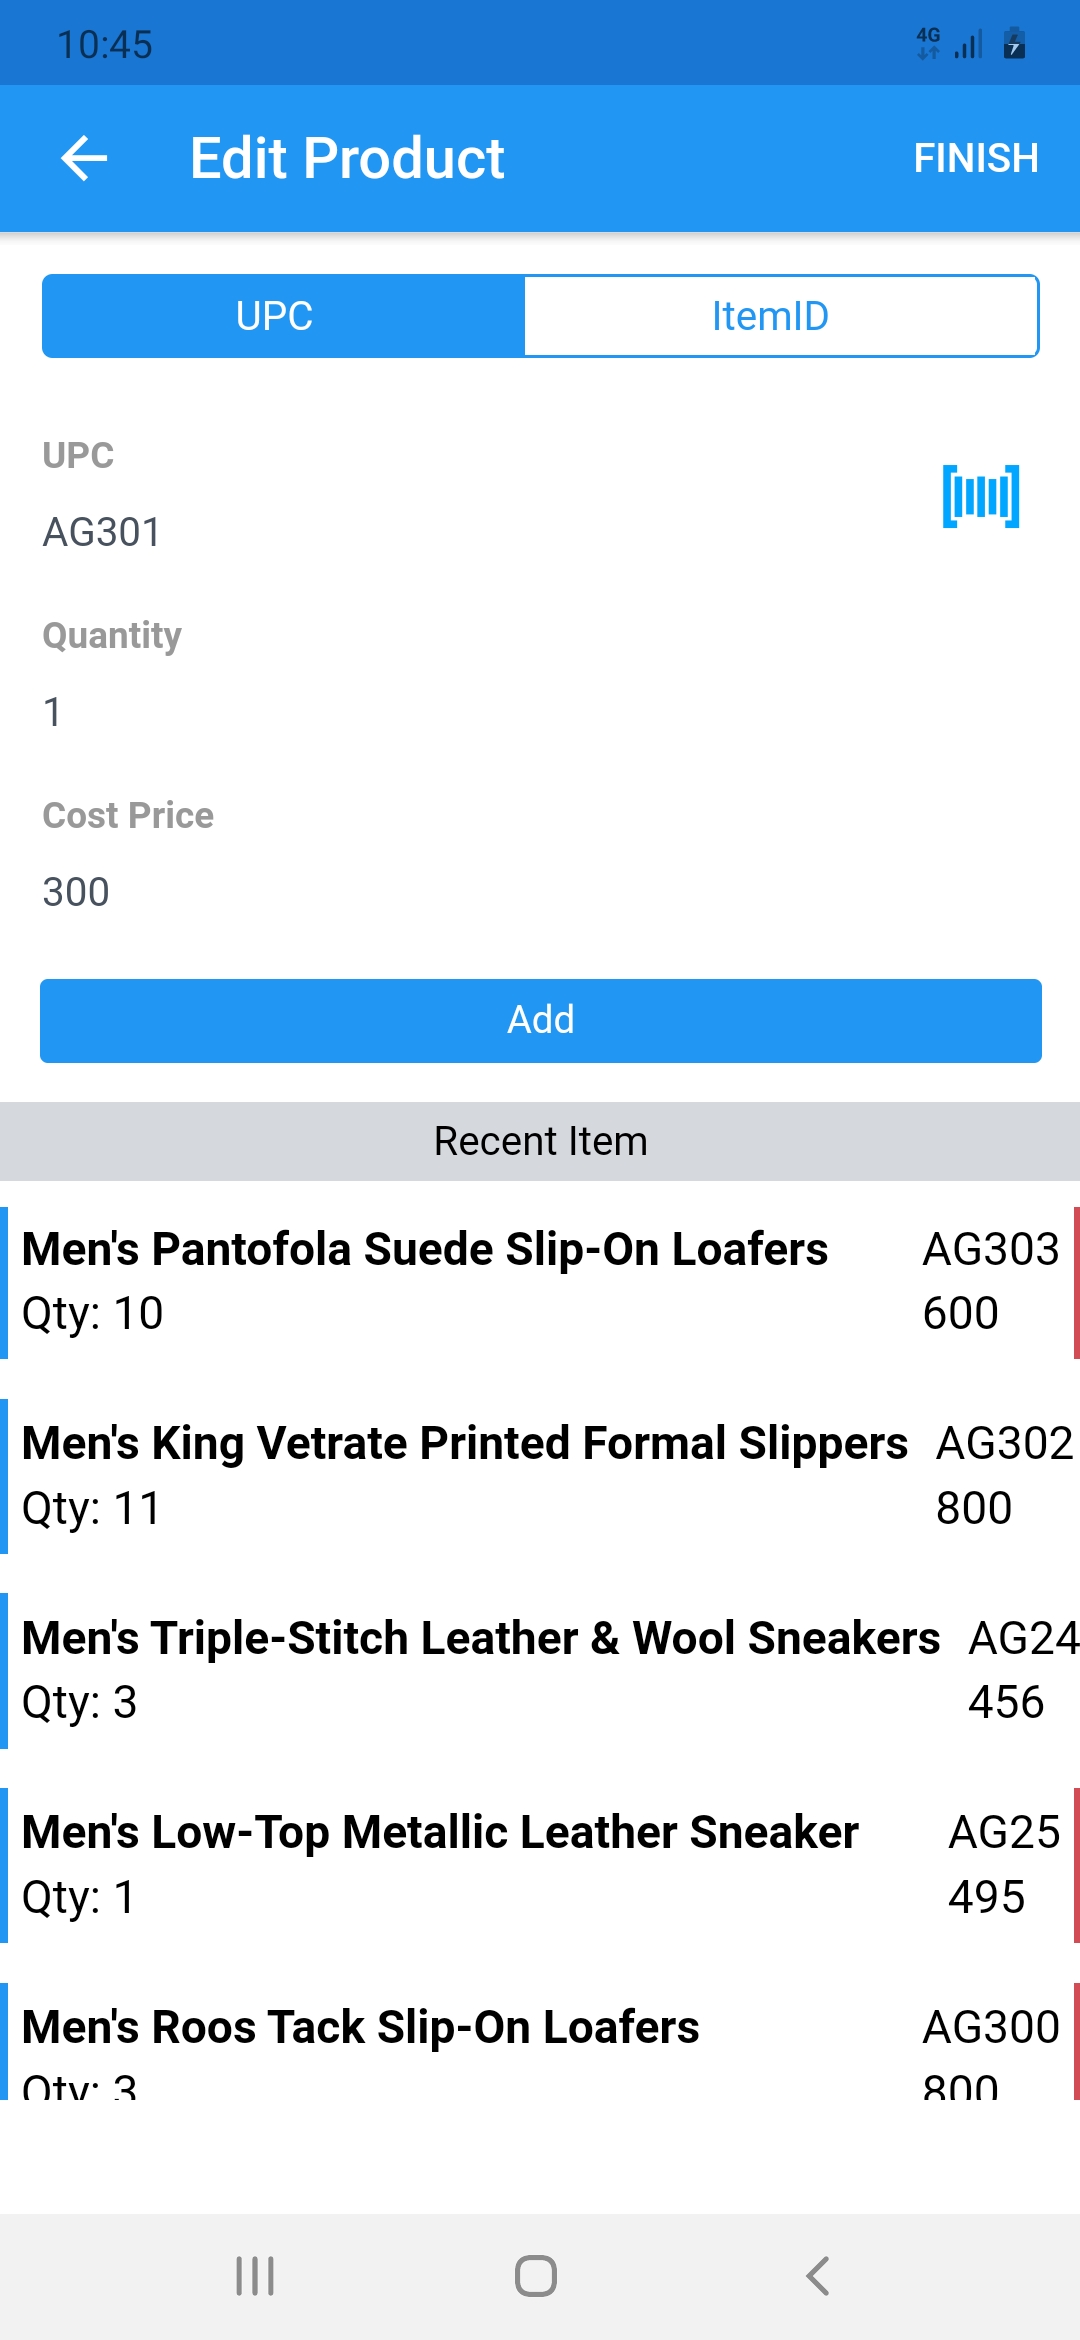
- Scan the item using the "scanner" icon OR manually add the items.
- To edit or delete the recent items added, swipe left or right.
- Click 'Finish' to complete receiving.
- Choose one of the options to proceed
- Receive to Finish the receiving.
- Save & Exit to save the current batch and continue later.
- Discard to delete or cancel the current batch.

Edit a Receiving Batch
- Click the 'Receive’' button from the home screen.
- Swipe the batch from left to right to edit ( Only the batches which are not received can be edited )
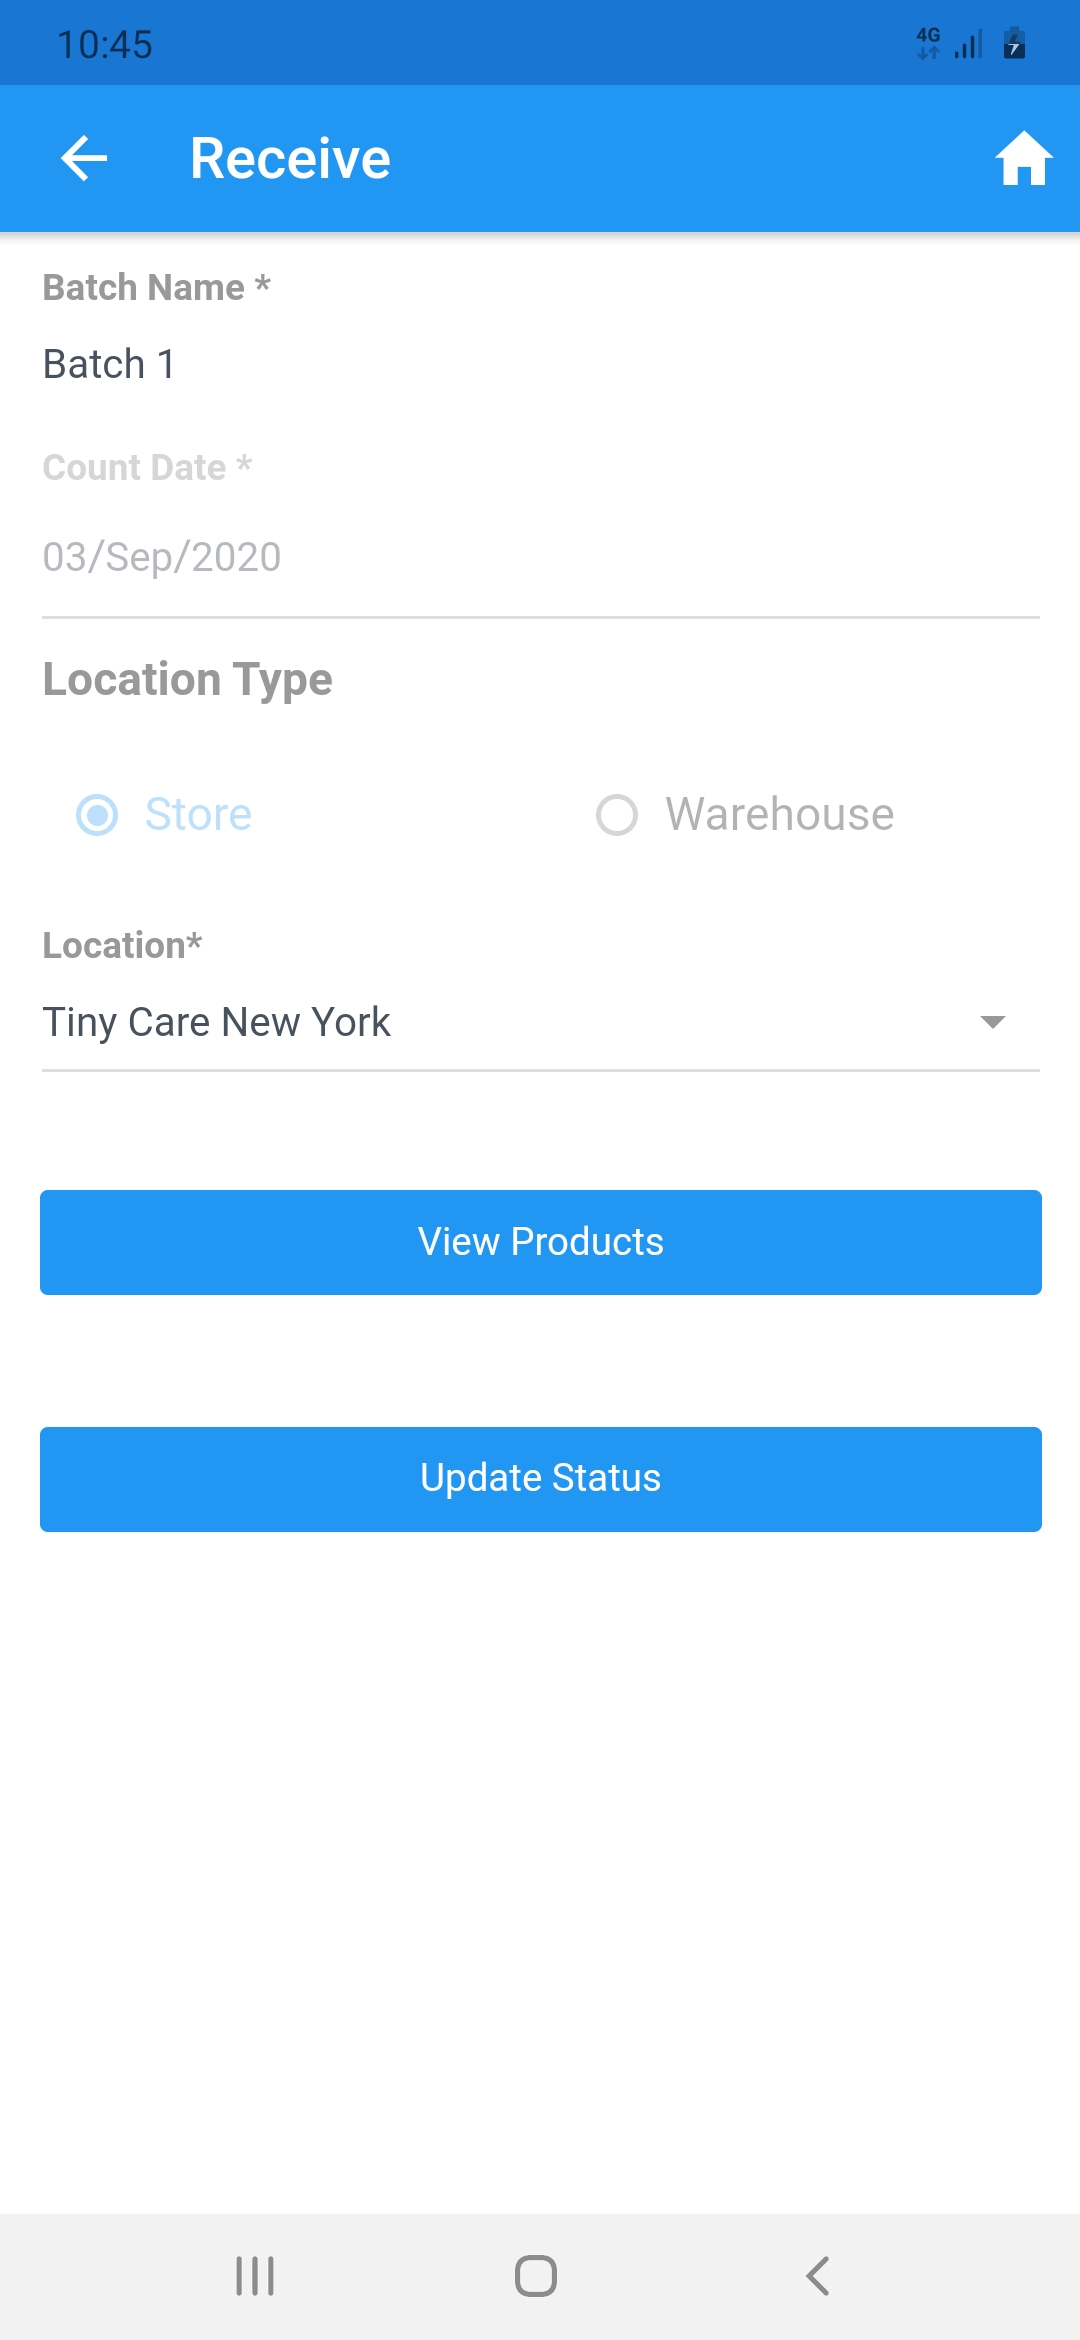
- Click 'Add items to batch'
- Scan the item using the "scanner" icon OR manually add the items.
- Click 'Update Status’'.
- Choose one of the options to proceed
- Receive to Finish the receiving.
- Save & Exit to save the current batch and continue later.
- Discard to delete or cancel the current batch.
- Select the batch and click on ‘View Products’ to view the products in the batch.
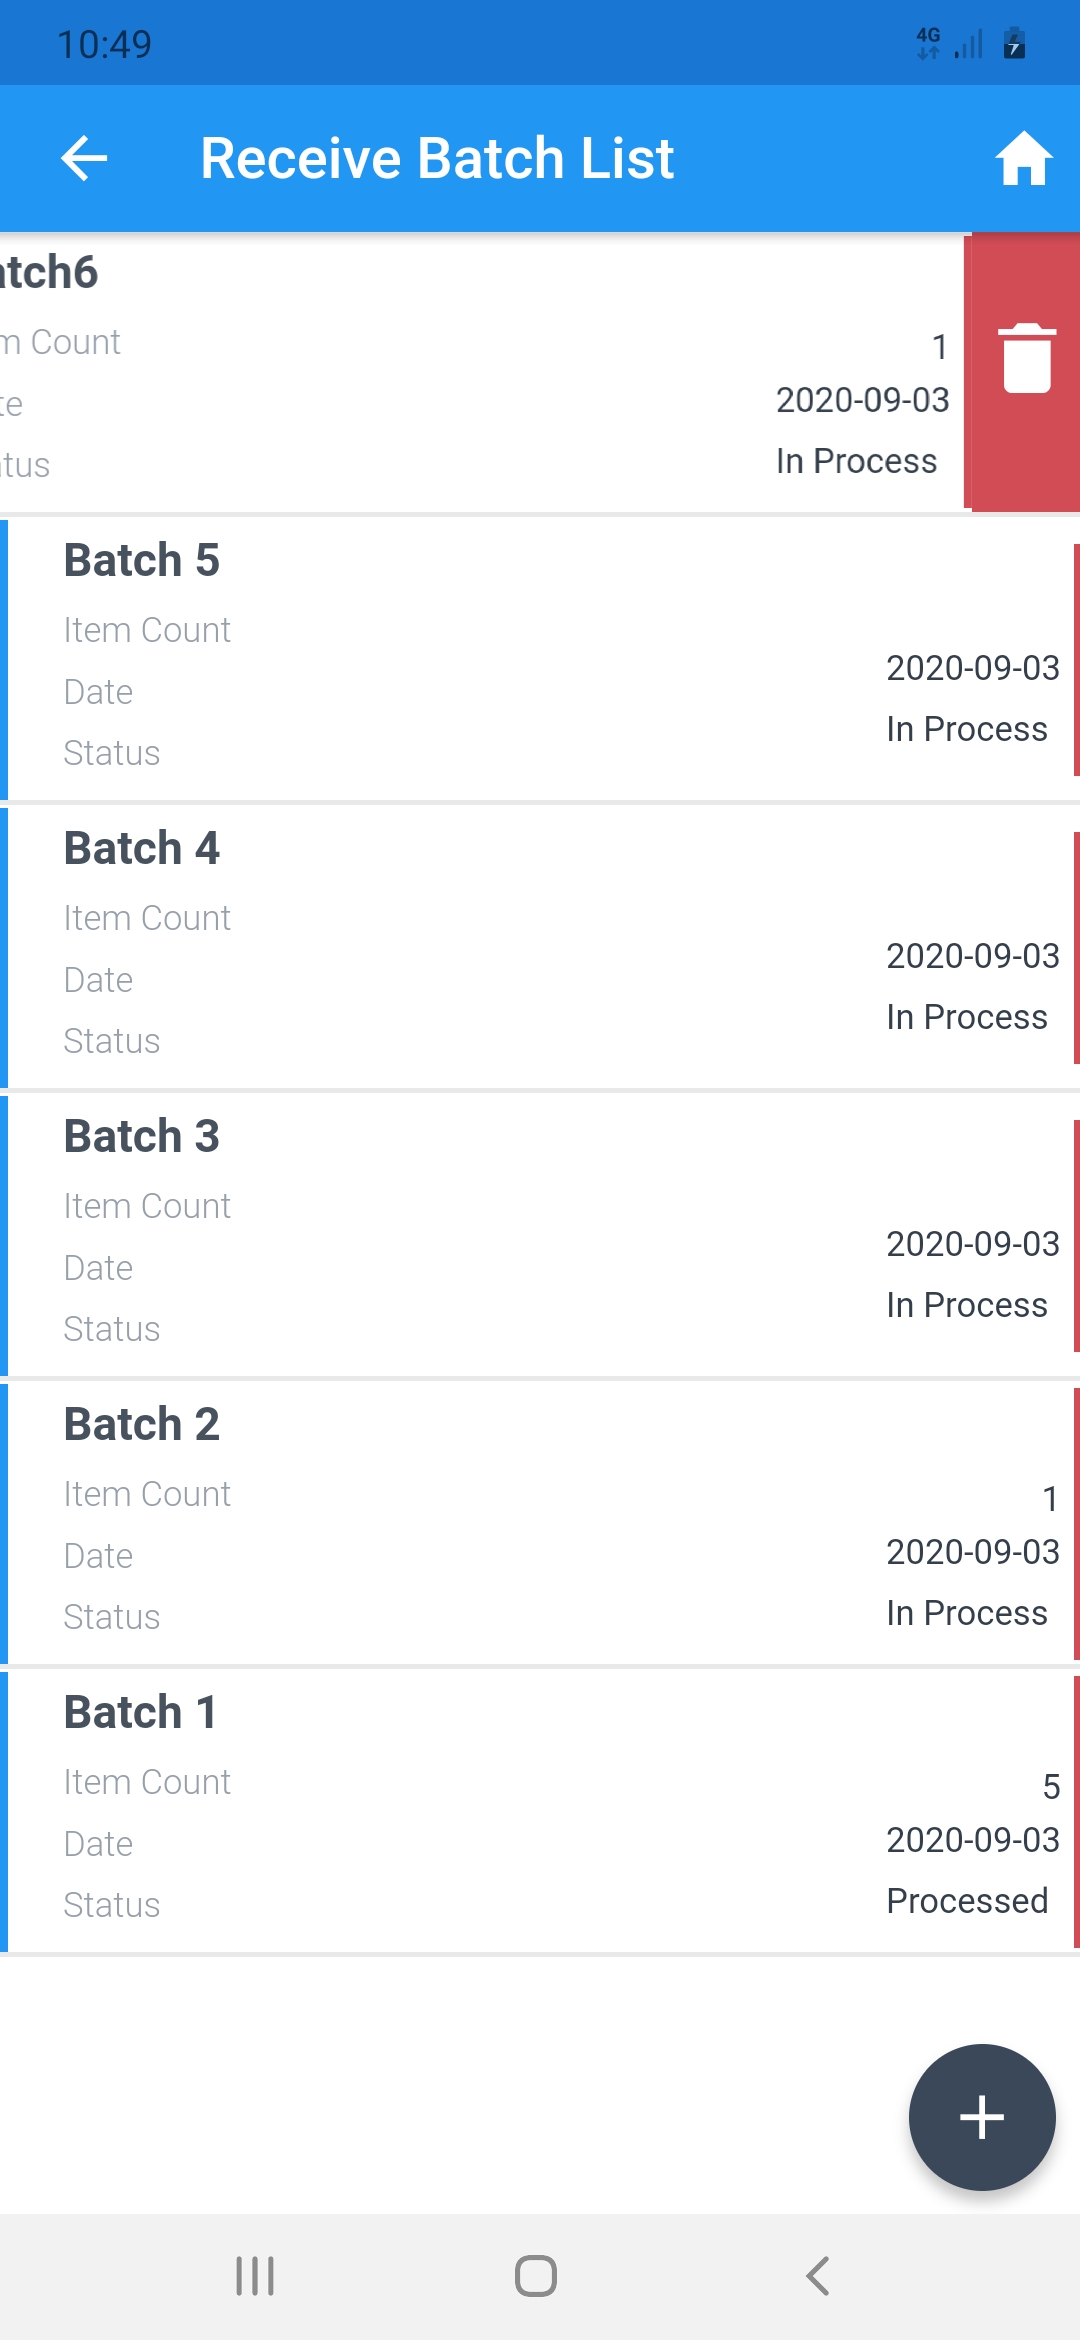
Delete a Receiving Batch
You can delete a batch one of two ways :
- Click the 'Receive’' icon from the home screen.
- Swipe the batch from the list ( right to left )
- A delete button shows up and you can delete it from there.
Articles in this section
- Introduction
- Getting Started
- Product
- Receive
- Inventory Count
- Rapid Adjustment
- Price Checker
- Product Locator
- How to update Quantity through mInventory?
- Supported Hardware
Comments
Article is closed for comments.