Tables
Table Assignment lets you assign servers to sections and tables, helping you increase productivity and improve the guest experience.
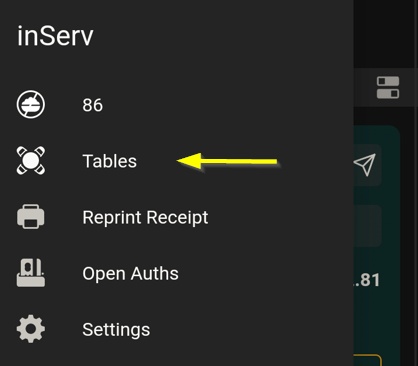
From the inServ home screen, navigate to menu → Select Tables
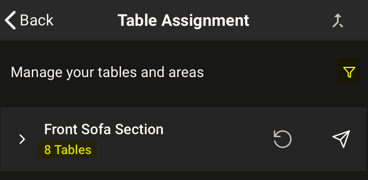
The restaurant area/floors will be listed here, to view the Tables under each area just click on the small arrow > near the area name to expand.
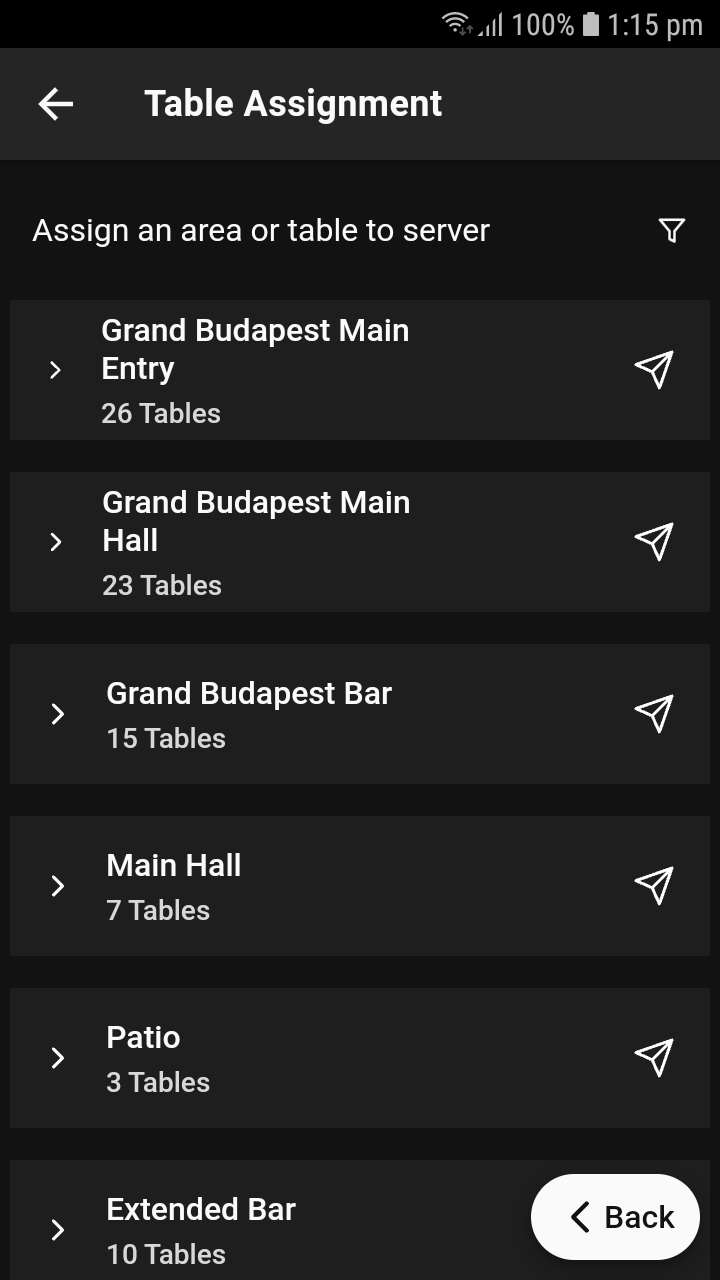
You can either assign an entire area/floor to a server or each table to a server.
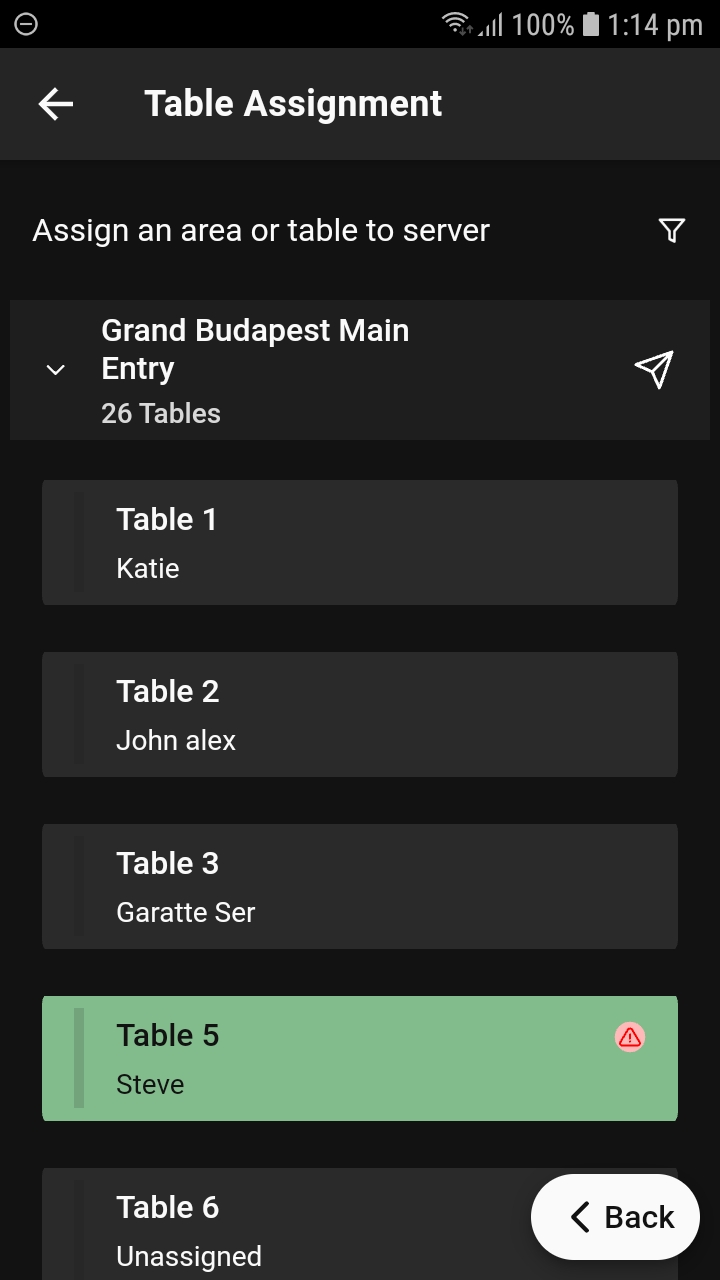
Understanding Table Status
A table on the Table Assignment screen can have one of five statuses. These statuses are used to quickly show what stage the table is at.
 Table is Available
Grey
 Allocated table with no orders
Yellow
 Allocated Table with no orders for more than 1 minute
Red
 Allocated table with Orders & doesn’t have a Card on File
Green (alert icon)
 Allocated table with Orders & have Card on File
Green (Tick)
 Table with guest having food allergies
Filter Table Status
Users have the ability to filter the tables by Assigned, Unassigned, or Show Both options.
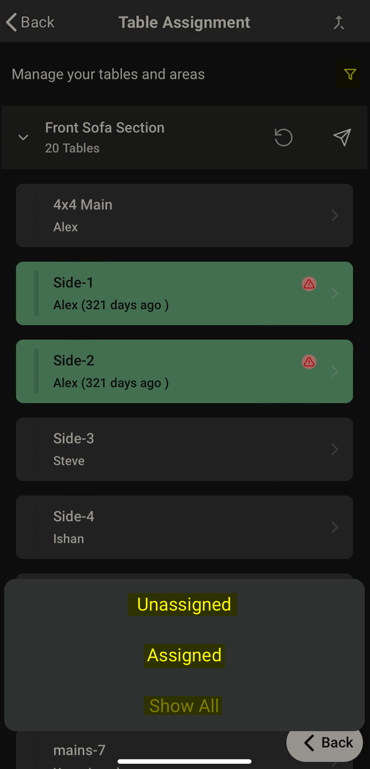
You can view the table count(Unassigned/Assigned/All) based on the filter applied.
How to assign an Area to a Server?
To assign an entire area/floor of your restaurant to a particular server
- Navigate to menu → Tables
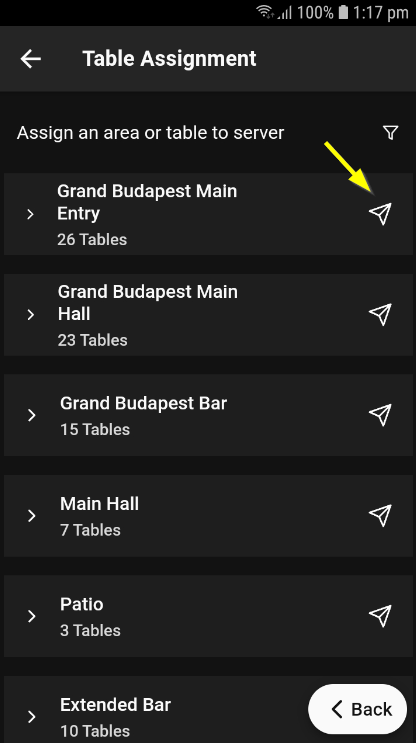
- From the Table Assignment page, find the area you wanted to assign
- Click on the corresponding ‘paper plane icon’
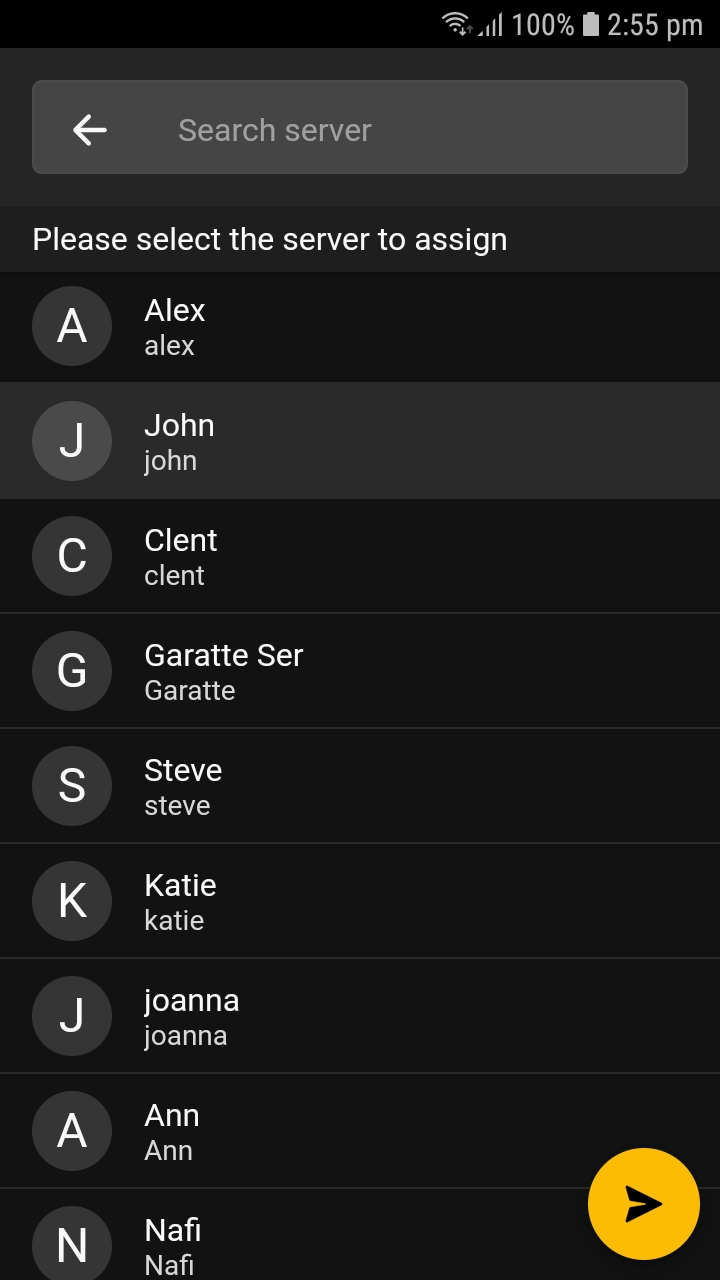
 which will list the servers
 - Select the server you want to assign the area and then click on the arrow button at the bottom right of the screen.
Now the area will be successfully assigned to the selected server.
How to assign a Table to a Server?
To assign a table of your restaurant to a particular server
- Navigate to menu → Tables
- From the Table Assignment page, find the area you wanted to assign.
- To view the tables under the area, just click on the small arrow ( > ) near the area name to expand.
- Click on the table, select the option ‘Assign to a Server’ which will list the servers.
- Select the server you want to assign the area and then click on the arrow button at the bottom right of the screen.
Now the area will be successfully assigned to the selected server.

How to get Guest Info?
Servers can know the guest information like Guest Name, Guest Counts and JoinCodes
- Navigate to menu → Tables
- From the Table Assignment page, select an area.
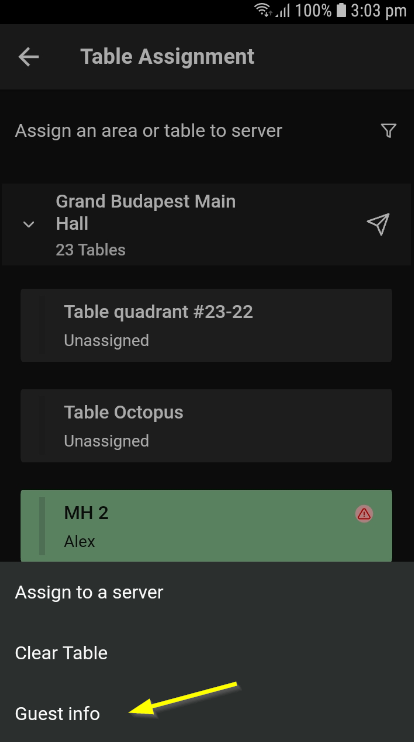
- Click on the small arrow ( > ) near the area name to expand and view the tables
- Click on the table, select the option ‘Guest Info’ which will display the information.
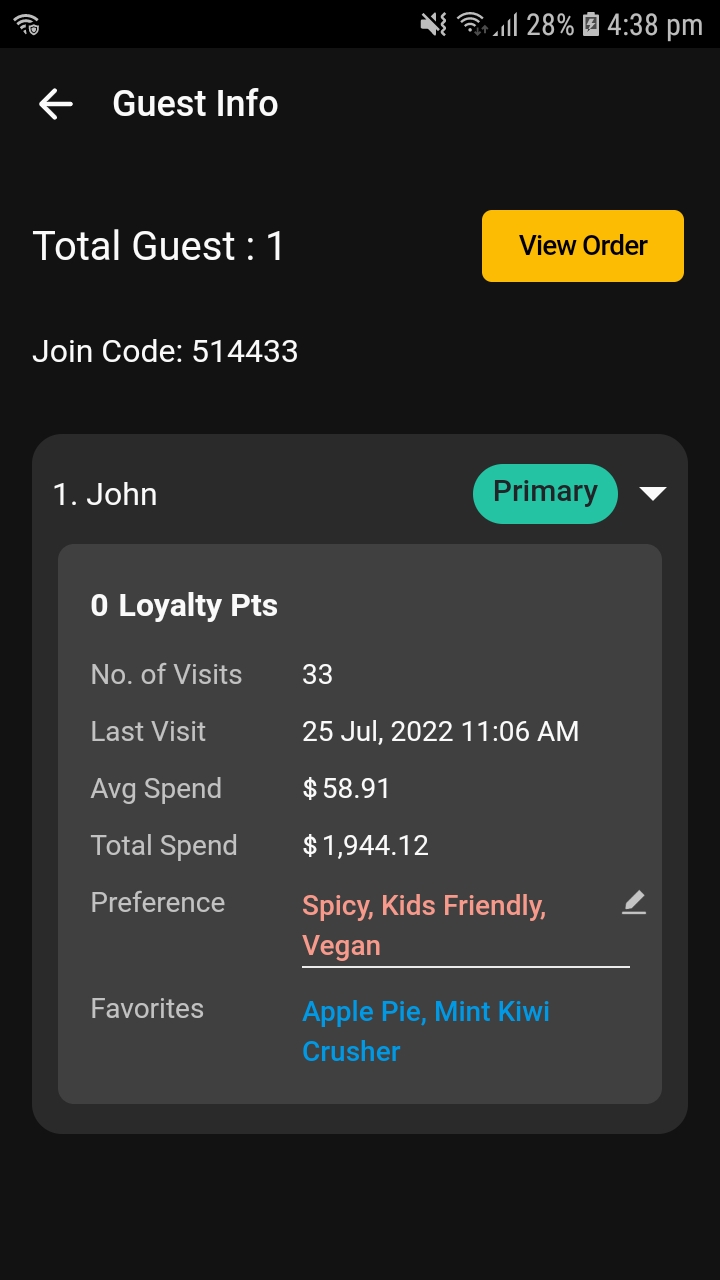
Servers have the option to view the guest info and view the orders by clicking on View Orders tab. This will directly take you to the ordes page.
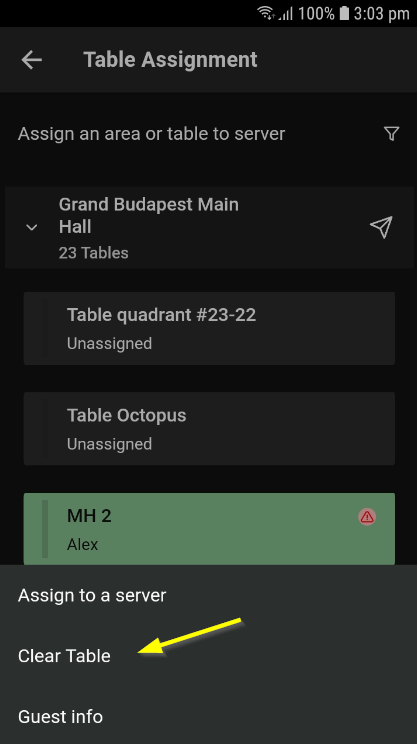
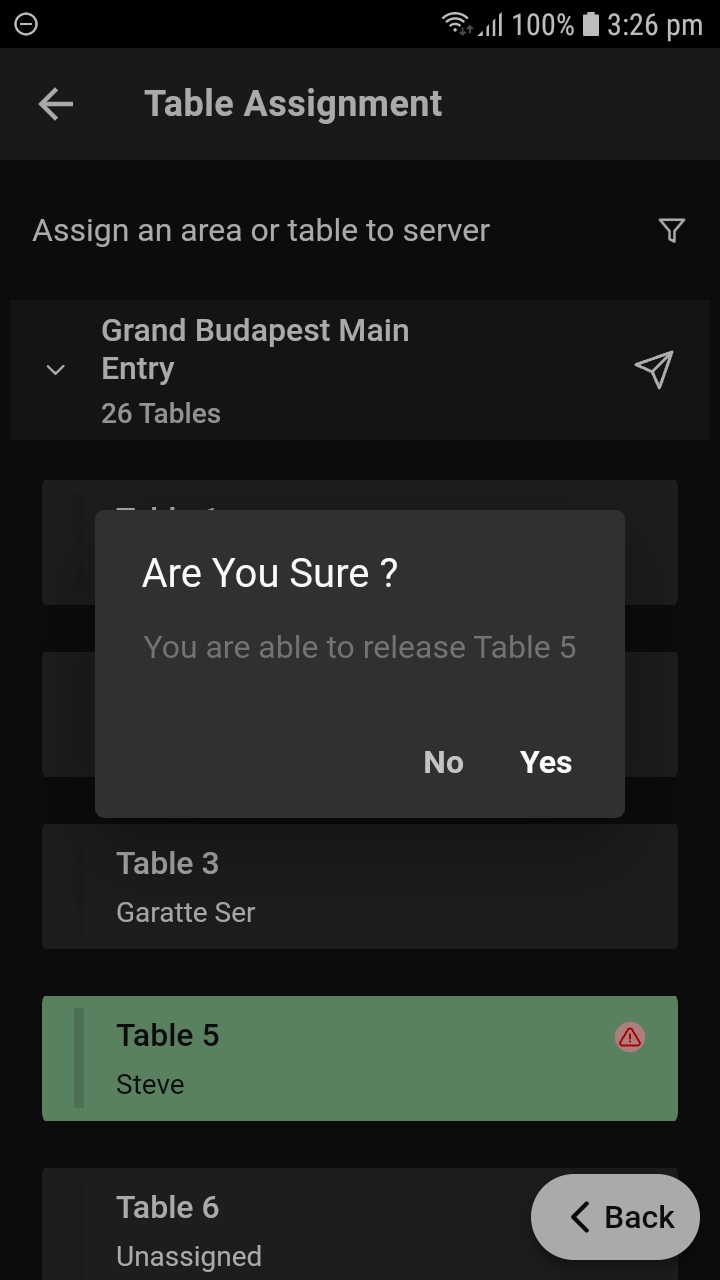
How to Clear Table/Close Table?
Servers have the option to close/clear a table and make them back available. (In such a case that if a customer scans a QR code and leave without placing any orders)
- Navigate to menu → Tables
- From the Table Assignment page, select an area.
- Click on the small arrow ( > ) near the area name to expand and view the tables
- Click on the table that you want to make available and select the option ‘Clear Table’.
Note: You will not be able to clear a table that is allocated or have any pending orders.
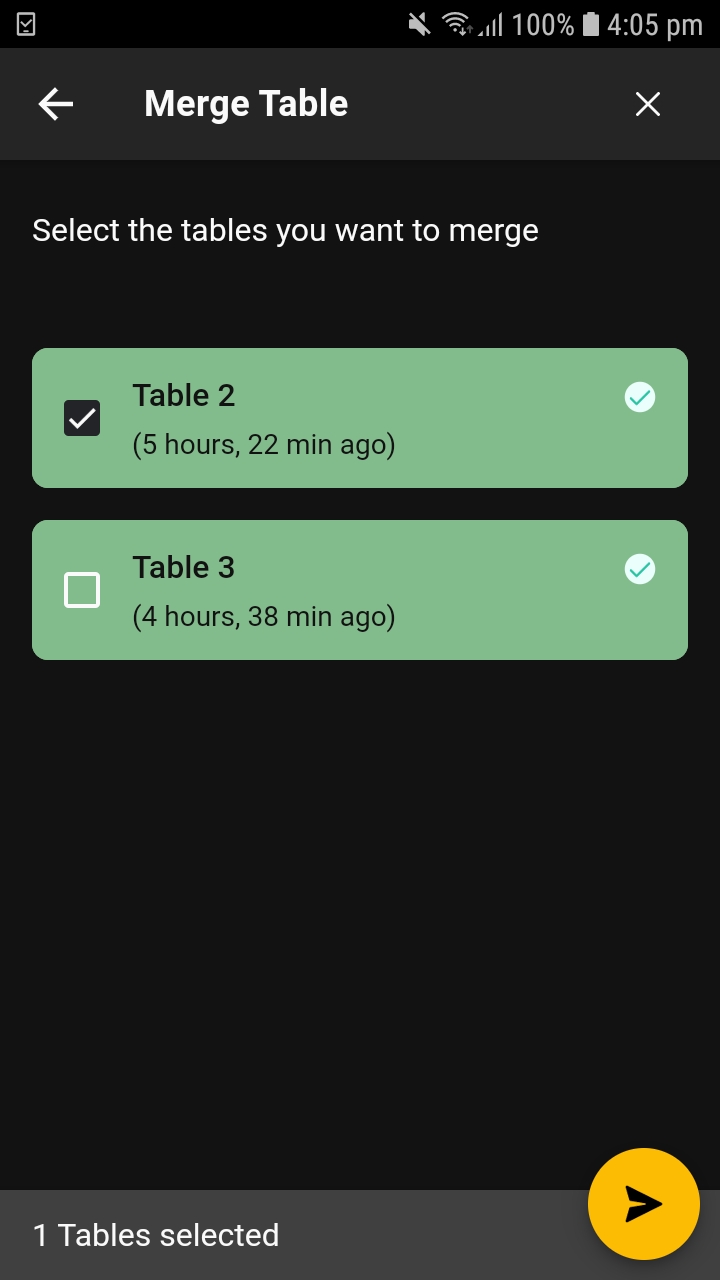
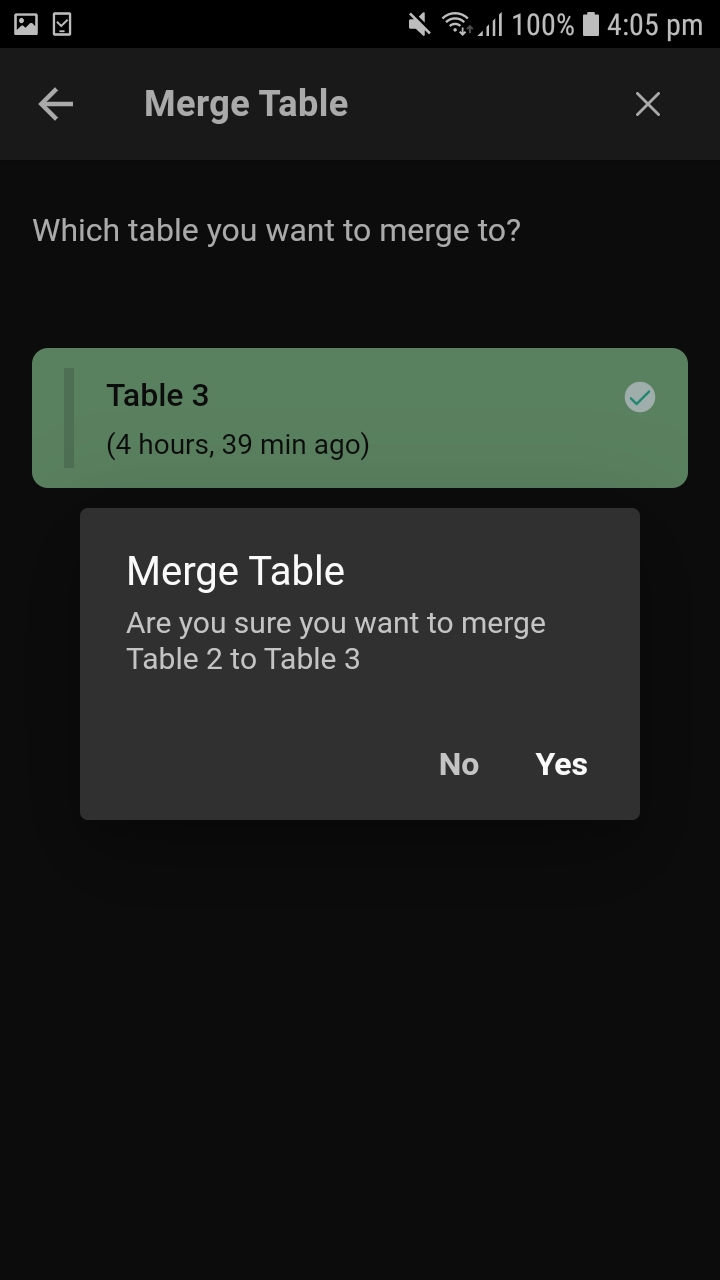
How to Merge Tables?
Servers have the option to merge or switch between different tables.
- Navigate to menu → Tables
- From the Table Assignment page, click on the Merge button
 (upward arrow)
 - Select the table you want to merge and click on the arrow
 at the bottom of the page to continue.
 - The next page will display all the available tables which can be merged with the pre-selected table. Choose the table from the list to which you want to merge to.
- Click Yes to confirm the merge.
Access
Managers/Expediter users can view all tables and have the ability to assign tables to other servers. Users with Server roles can view all assigned and unassigned tables. Users with Server2 roles can only view tables assigned to them and have the ability to assign tables to other servers.
Articles in this section
- Overview
- Getting Started
- Register & Login
- Managing Server Tasks
- Managing Orders
- Void an Item
- Item Discount/Comp
- Item 86ing
- Table Management
- Assign an Area to a Server
Comments
Please sign in to leave a comment.